NuxtHub
You should have received an invitation for NuxtHub repo. If not, please contact me.
Supersaas has first class support for NuxtHub. This means that you can deploy your site to NuxtHub in just a few clicks.
Clone the repo
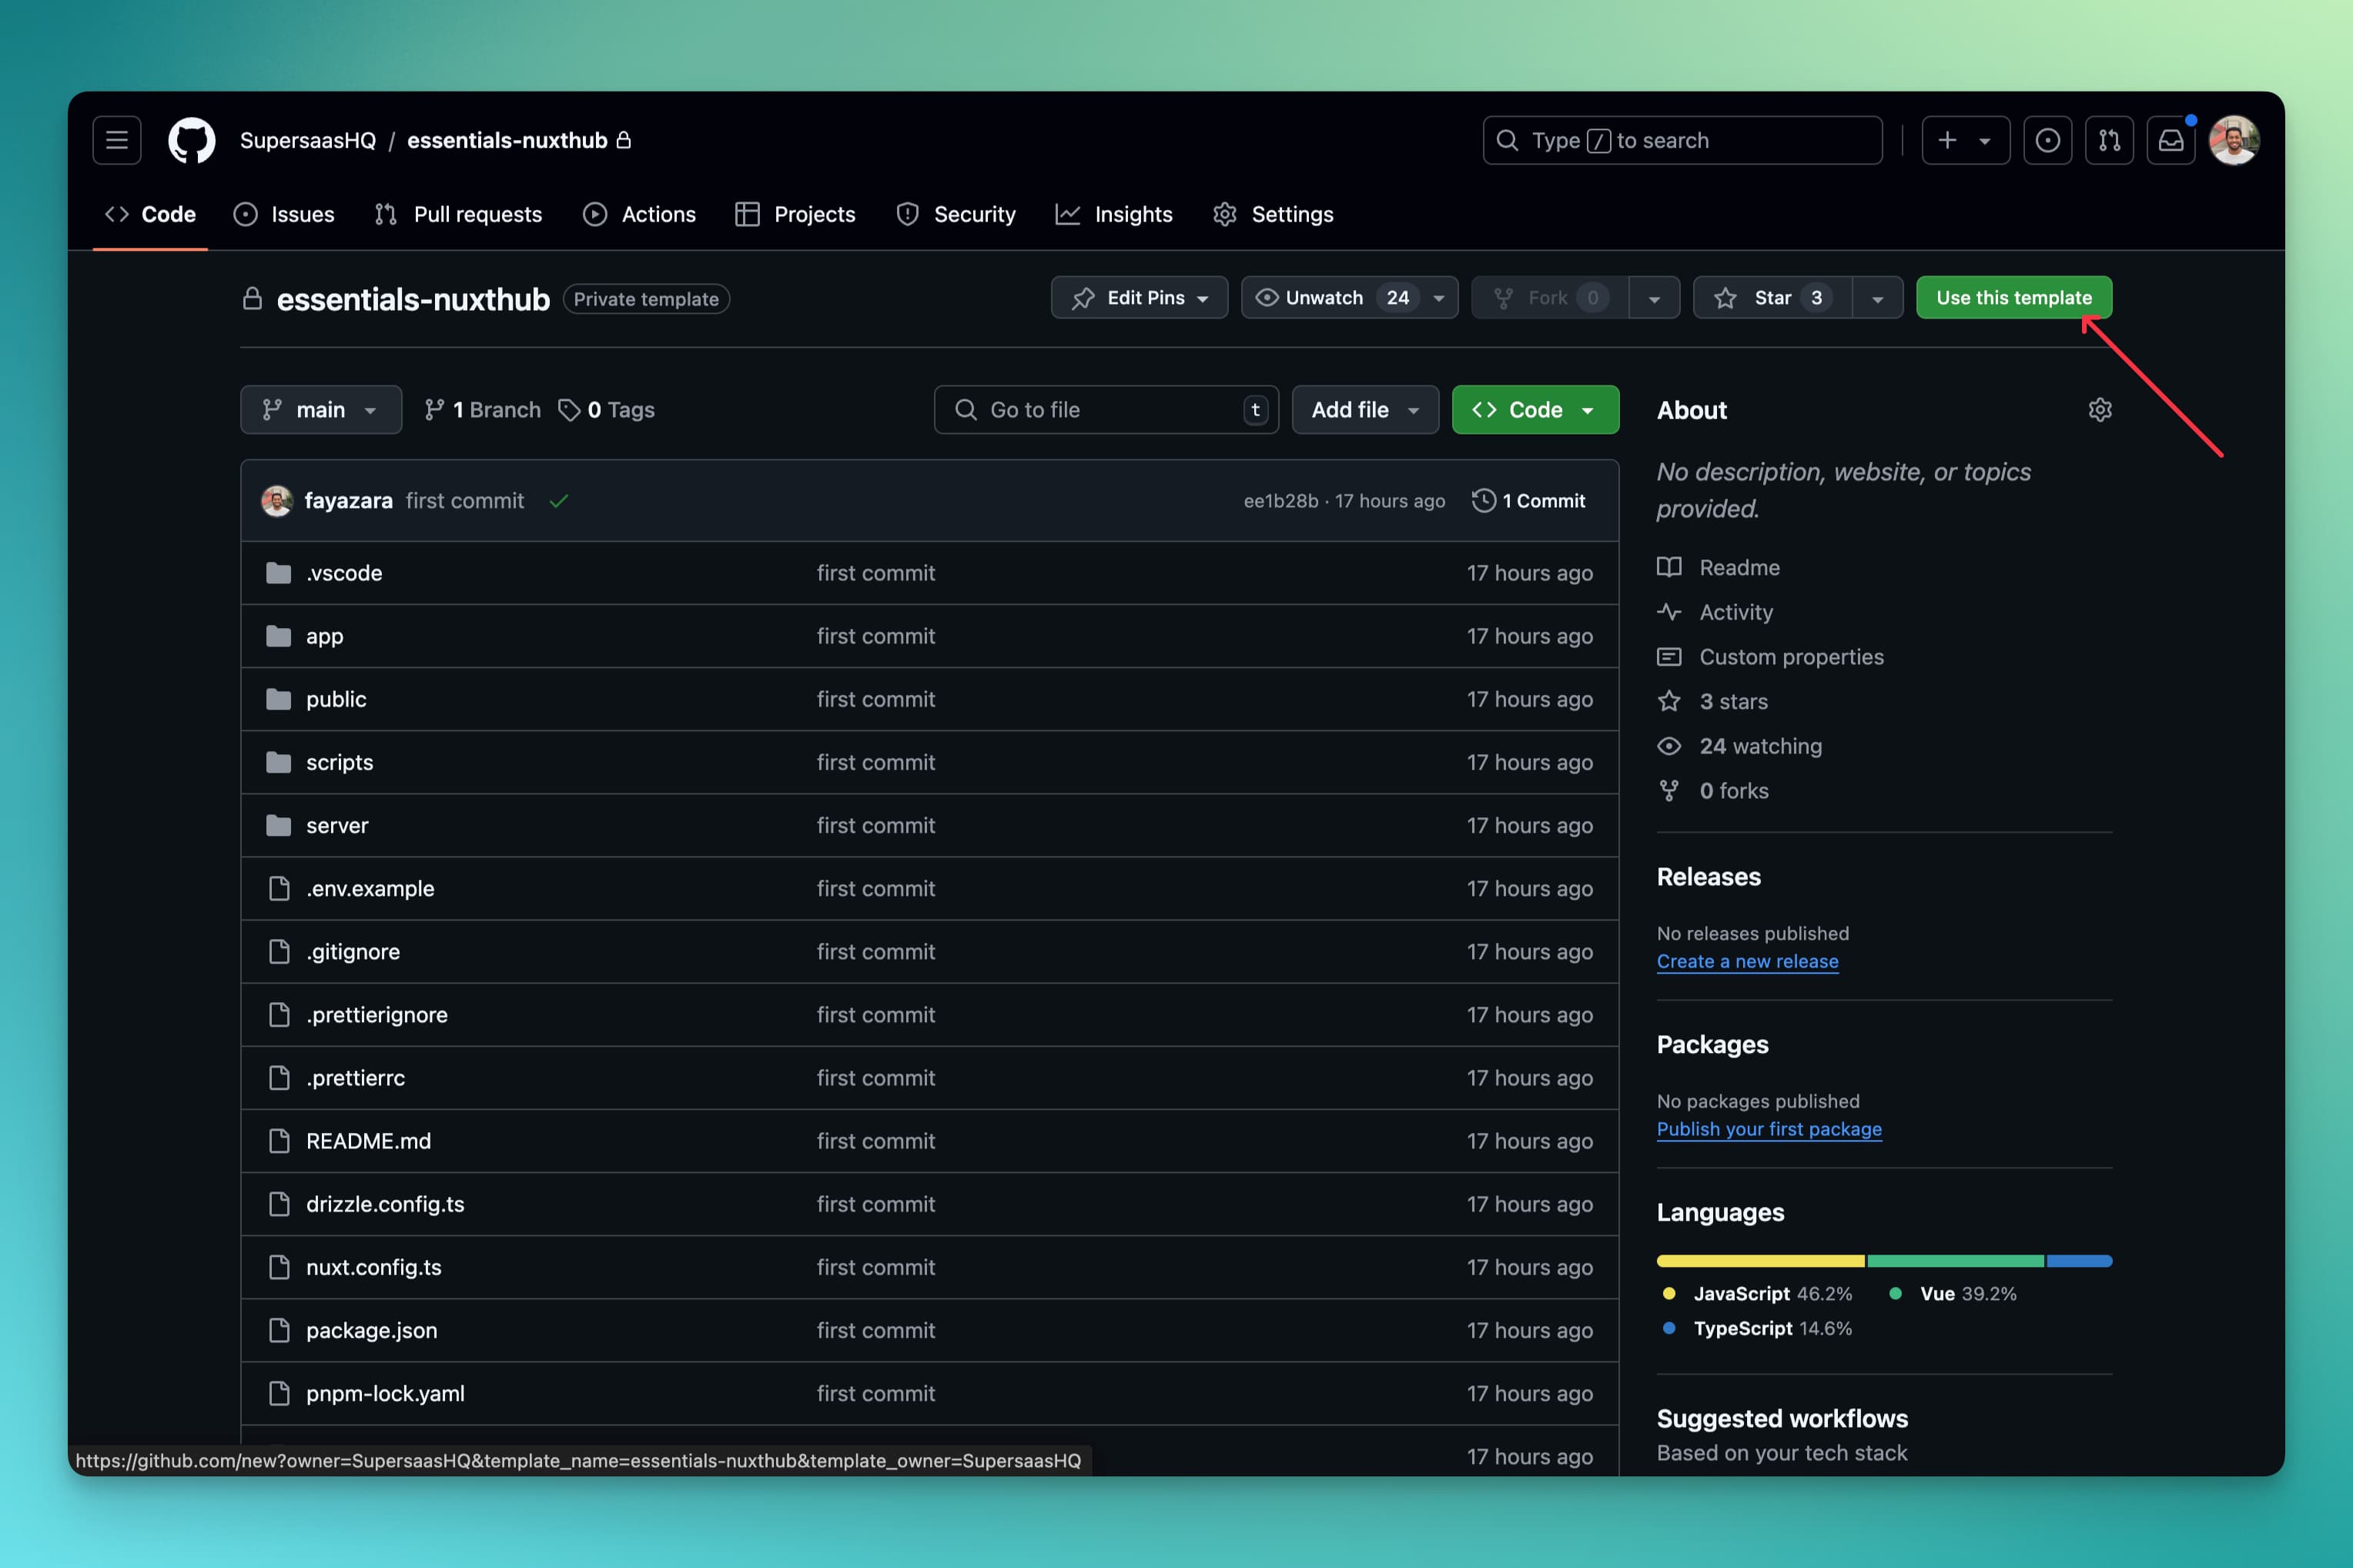
Head over to Supersaas Nuxthub and click on Use this template

Give it a name, set the visibility to private and create the repo on your account.
Environment variables
You will need these environment variables to run the site locally and deploy to Nuxthub.
| Variable | Example Value | Description |
|---|---|---|
| BASE_URL | http://localhost:3000 | Your domain with the https:// prefix or http on local |
| RPID | localhost | Your domain without the prefix |
| FROM_EMAIL | [email protected] | The email address that will be used to send emails like password reset, magic link etc. |
| EMAIL_PROVIDER | resend | The email provider that will be used to send emails |
| PAYMENT_PROVIDER | stripe | The payment provider that will be used to process payments |
| RESEND_API_KEY | Your_Resend_API_key | The API key for the email provider |
| NUXT_SESSION_PASSWORD | 32 character random string | This is used to encrypt the session cookie |
| NUXT_OAUTH_GITHUB_CLIENT_ID | The client ID for the GitHub OAuth provider | |
| NUXT_OAUTH_GITHUB_CLIENT_SECRET | The client secret for the GitHub OAuth provider | |
| NUXT_OAUTH_GOOGLE_CLIENT_ID | The client ID for the Google OAuth provider | |
| NUXT_OAUTH_GOOGLE_CLIENT_SECRET | The client secret for the Google OAuth provider | |
| STRIPE_SECRET_KEY | The secret key for the Stripe payment provider | |
| STRIPE_WEBHOOK_SECRET | The webhook secret for the Stripe payment provider |
The Github/Google OAuth credentials are not required if you are not using the Github/Google login feature.
NuxtHub Setup
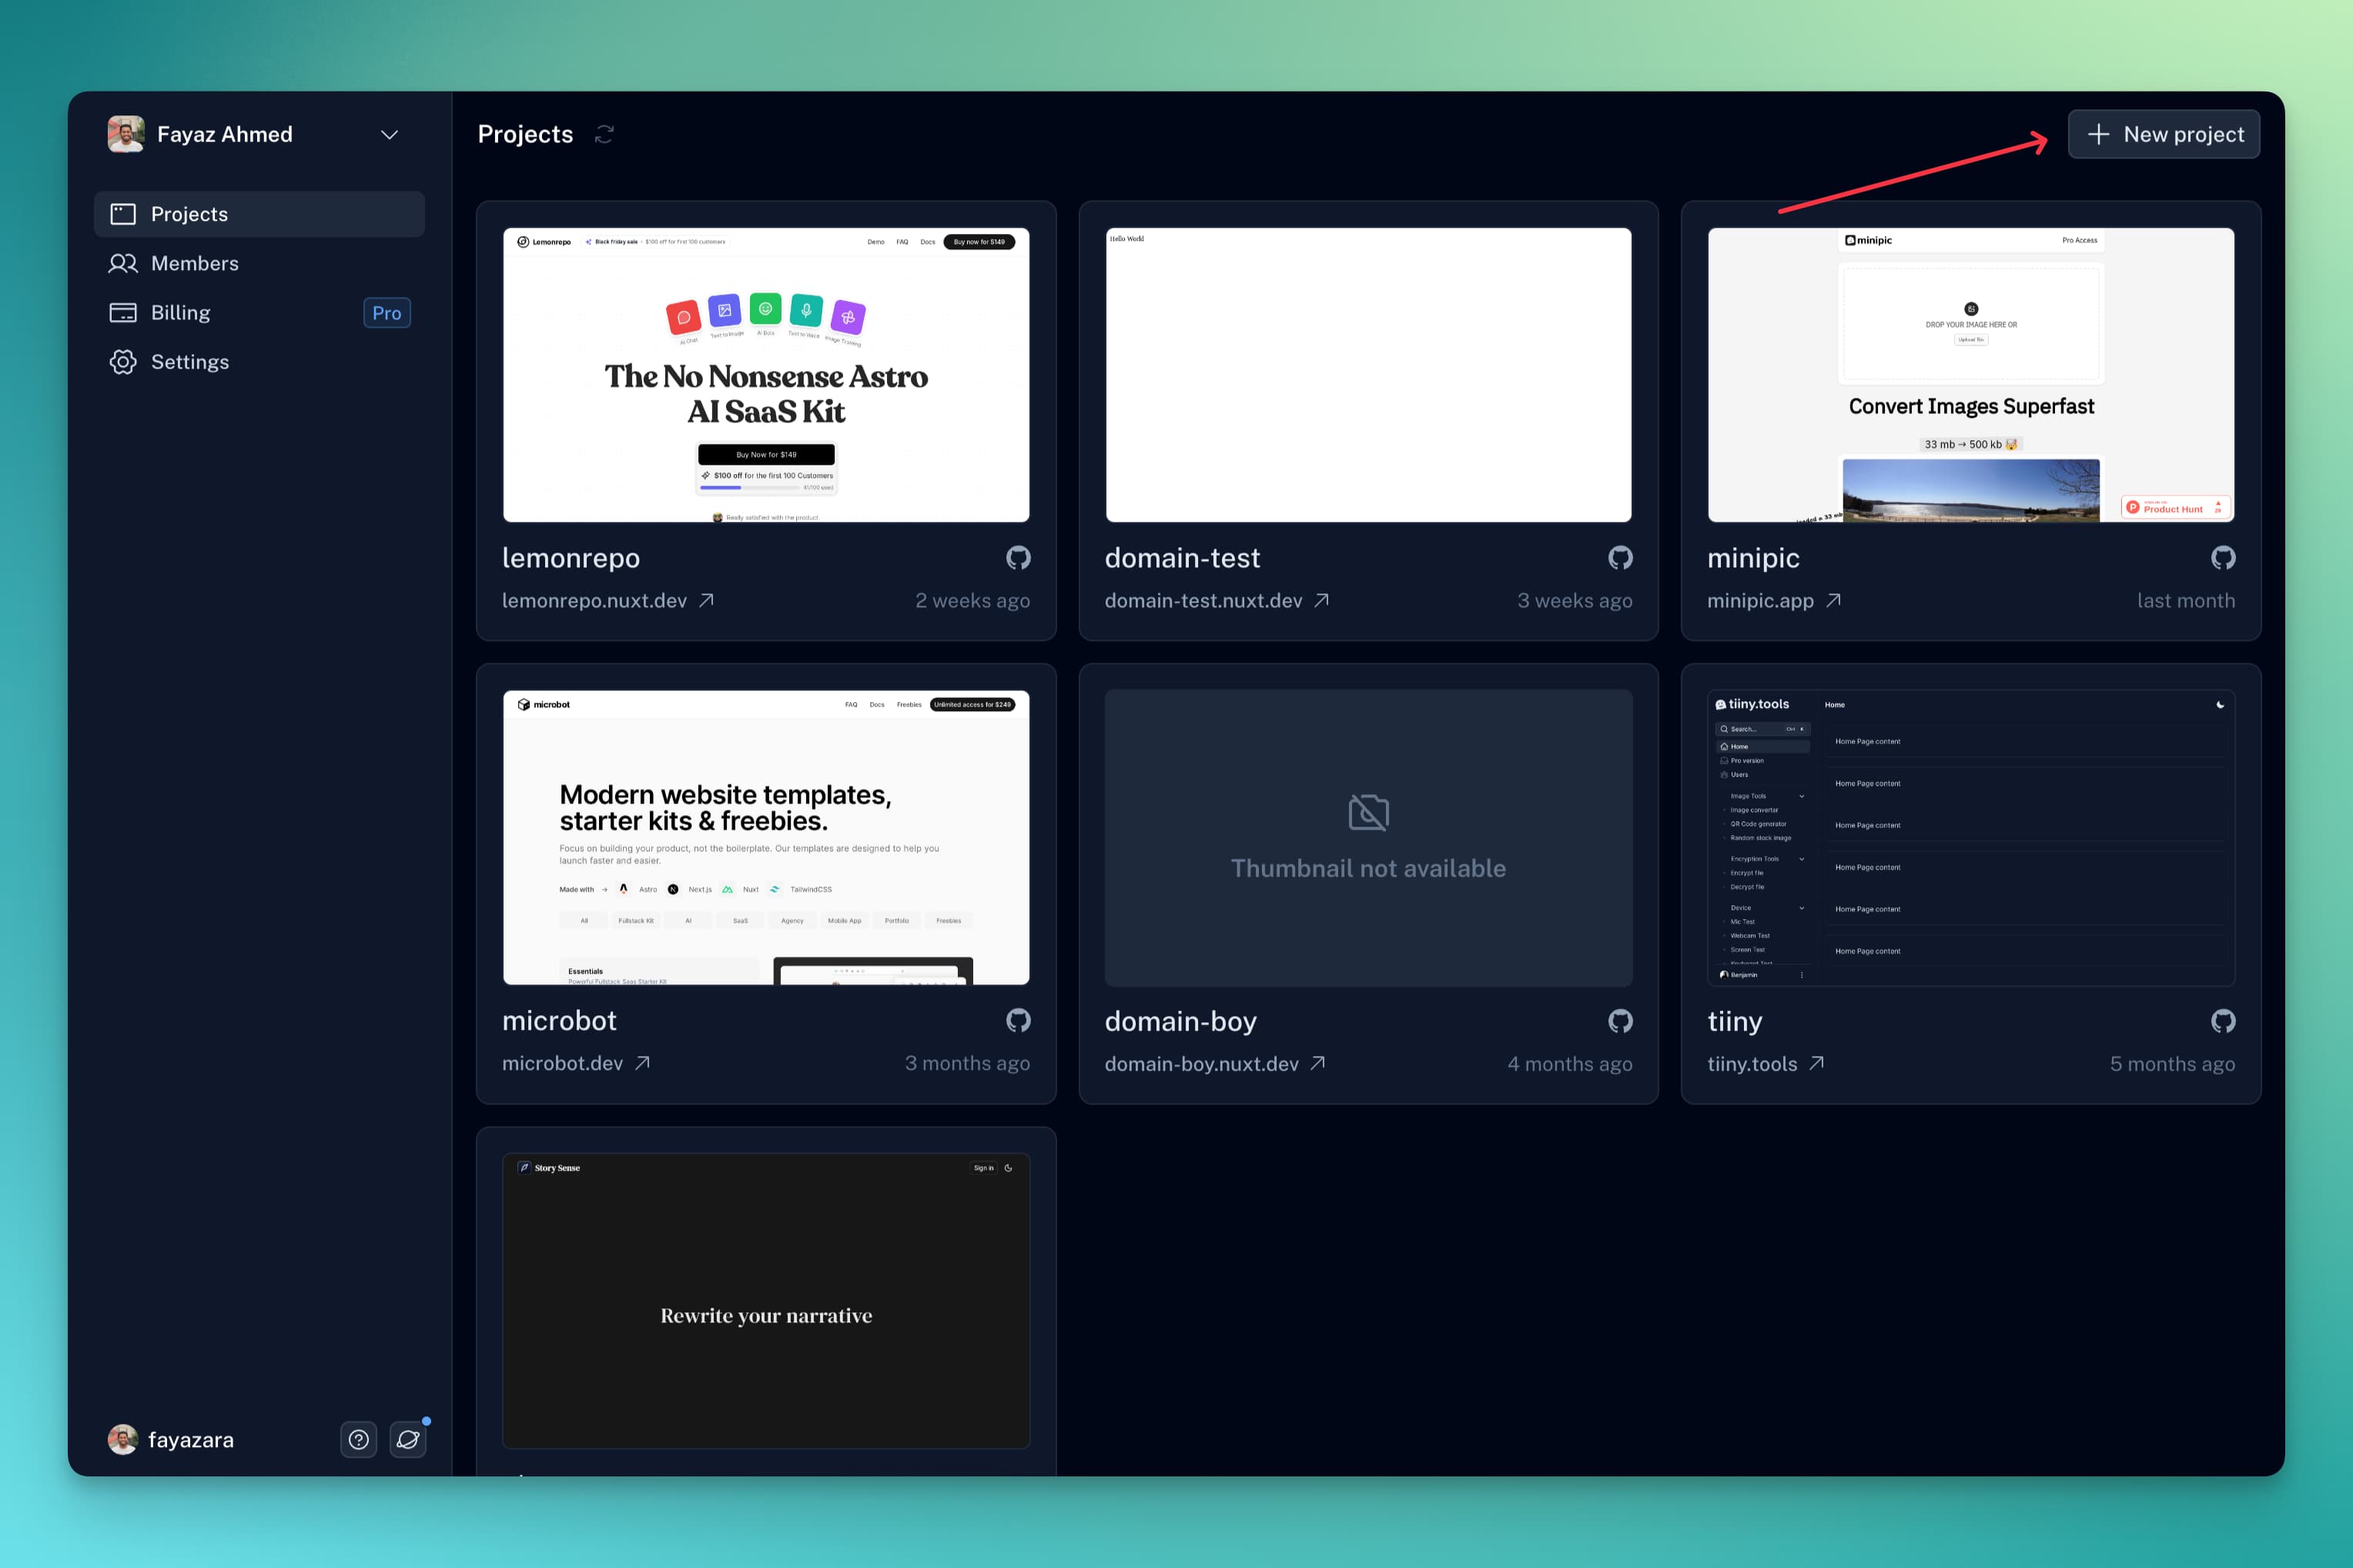
Head over to Nuxthub and make sure you have everything setup (Your cloudflare is linked). Now add click on the New Project button.

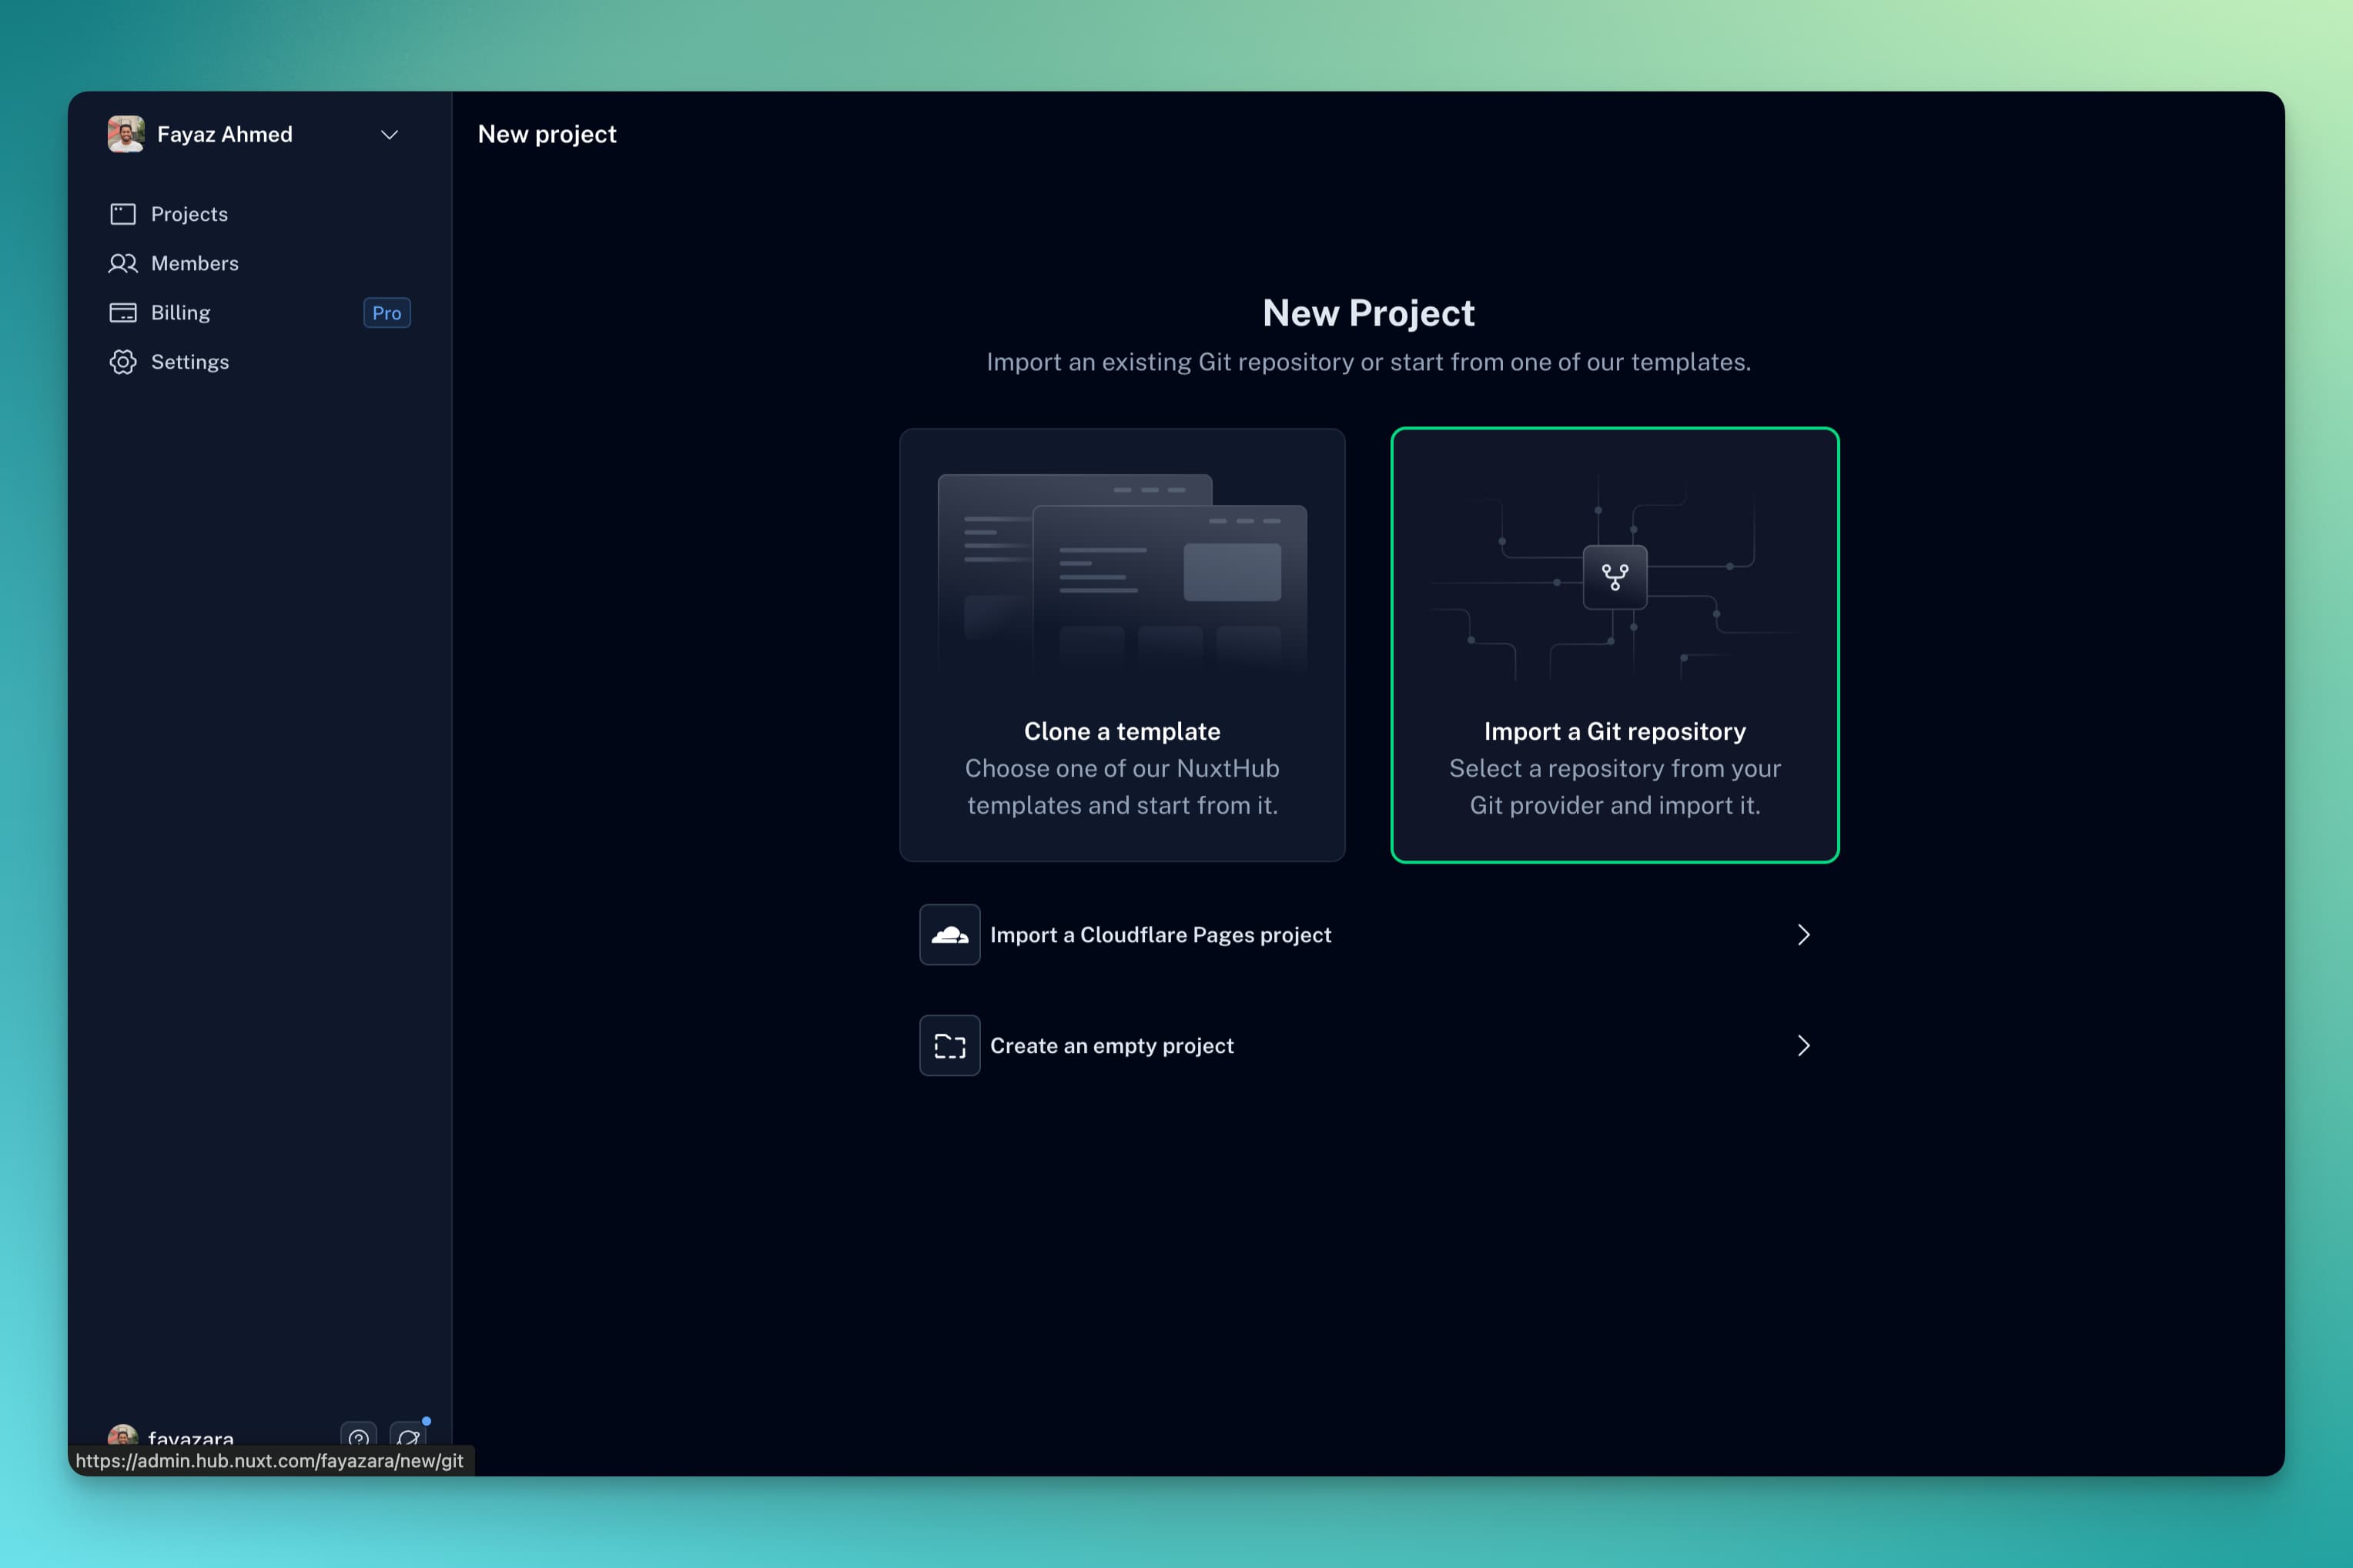
Choose "Import a Github repository" and select the repo you created in the previous step.

- Set a name or just choose the default one.
- Choose a Storage Region that you prefer.
- Branch should be set to main.
- Paste in the environment variables you copied in the previous step.
- Click on the "Import Repository" button.
- Nuxthub will start building your site. This will take around 2-3 minutes.
The first build fails because NuxtHub setups up all the bindings, and automatically creates another deployment. This is expected and you can ignore it.
Once this is done, your project will be ready.
Running the DB migrations
When your app goes live, you will see that there's a database but no tables. This is because the migrations are not run yet.
- Clone the repo locally.
- Run
pnpm db:generateto generate the migrations. - Run
npx nuxt dev --remotelocally, so the migrations get applied manually to Cloudflare D1 - Another way is to set the remote flag to true in nuxt.config.ts
export default defineNuxtConfig({
  // ... other things
  hub: {
    kv: true,
    database: true,
    blob: true,
    remote: true,
  },
});
- Just start the dev server and the migrations will run automatically for you.
You now have a fully functional Supersaas site with all the features.
